This instruction discusses a step-by-step algorithm for working with our online service. The process of adding seals and signatures, uploading documents (PDF, JPG, etc.) and applying seals and signatures to these documents is described in detail.

This instruction discusses a step-by-step algorithm for working with our online service. The process of adding seals and signatures, uploading documents (PDF, JPG, etc.) and applying seals and signatures to these documents is described in detail.
To upload images of seals and signatures to be inserted into documents, you need to click on the  button (on smartphones, the button looks like this -
 ) located at the top of the screen.
On the page that opens, click on the  button, then select the image file in the dialog box.
After selecting the file, the image will be uploaded for pre-editing:
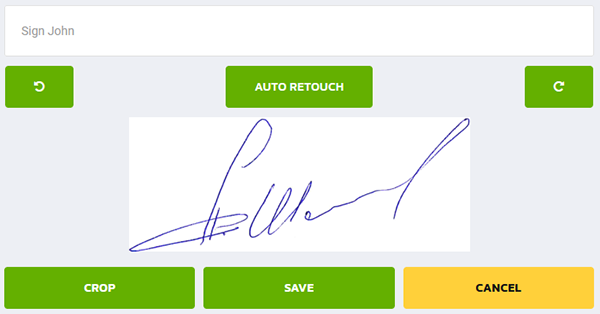
If the image contains extra areas, then they can be removed. To do this, select the area you want to leave and click  :
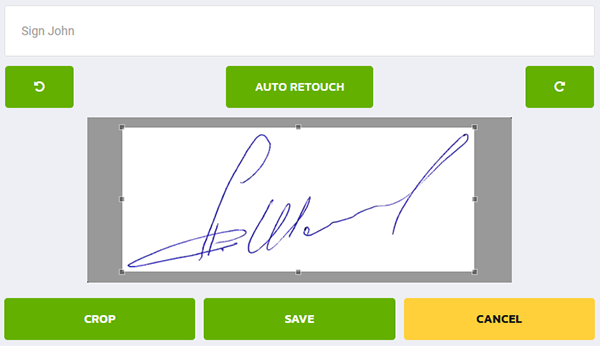
If you need to rotate the image, then the  button rotates the image 90degrees counterclockwise. The
 button is 90degrees clockwise.
IMPORTANT! If the background of the original image is not transparent or not white, it will be visible on the scans of the signed documents. To remove the background, use the  button, then select the most appropriate option.
To save the image in the user database, click the button 
To work with documents, you need to click on the  button (on smartphones, the button looks like this -
 ) located at the top of the screen.
The page opens:
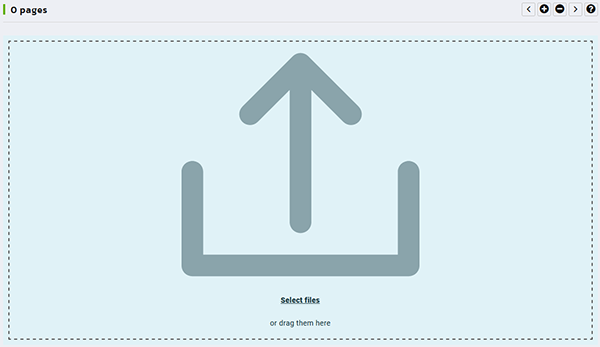
To add files, you must either drag them to the area highlighted in blue, or click on the 
If the file upload was successful, they will be displayed:
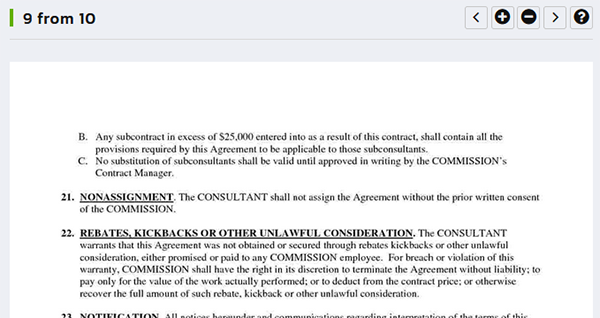
IMPORTANT: when a user uploads a document to the service Sigs.ME , two copies are created: one with low quality and "light" - in order for the user to load and display the pages of the document on the monitor as quickly as possible. The second copy - with high quality and, accordingly, "heavy" - serves to form a scan of the document in which seals and signatures are inserted. Thus, the user's work takes place without delay (due to the small "weight" of the images), and the final document is formed with high quality.
Navigation between pages is carried out using the following buttons:
 - go to the next page;
 - go to the previous page;
 - loading new pages into the document;
 - deletes the current page of the document.
To add seals and signatures, you need to open the document in which you want to put a seal or signature, and by clicking the right mouse button on the document (on a smartphone, you need to press and hold your finger on the screen), open the menu with a list of seals and signatures:
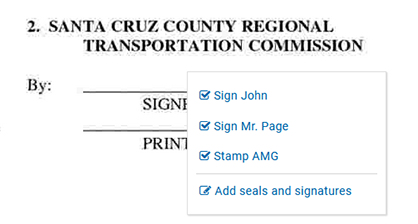
... and select the desired image. After that it will be displayed in the document:

To change the size of the superimposed image, use the corners of the frame that encircles the image  .
You can also drag the image by pinching it.
The active image (to make the image active, you need to click on it) can also be controlled via the lower menu  .
 - moves the selected image under the other images. It is necessary when, for example, a large seal completely covers a small signature that needs to be moved;
 - moves the selected image above the rest of the images;
 - rotates the seal or signature in the document counterclockwise;
 - rotates the seal or signature in the document clockwise;
 - removes the seal or signature from the document;
To create a scan of a document that already has seals and signatures, you need to click on the  button (on smartphones, the button looks like this -
 ) located at the top of the screen.
The finished scan can be downloaded in PDF or JPG format by clicking on the  button (on smartphones the button looks like this -
 ), which will appear immediately after the scan is created-copies.
Sigs.ME |
To evaluate the capabilities of the online service Sigs.ME , You have been granted demo access.
The only difference between demo access and commercial access is the presence of service advertising on each scan that the service prepares.
You can purchase a subscription for commercial access at any time:
Sigs.ME |
- open already uploaded documents (or add new ones) to put seals and signatures on them. - open the section for adding/changing/deleting samples of seals and signatures. - create a scan of uploaded and signed documents. - delete all uploaded documents and created scans. - download the created scan.
